One thing that’s bugged me for a long time is the lack of Android based in-car entertainment systems. Android is the perfect platform for this, its open source, very customisable, and lends it self well to cloud based music apps and internet radio. Manufacturers only need to build some hardware and then slap Android on it! So why are there so few?… this got me thinking… could I make my own?
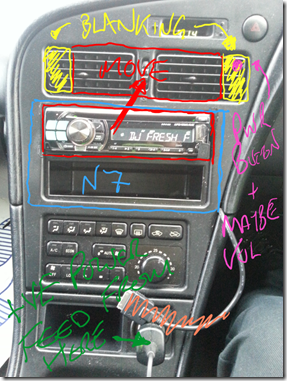
I was sitting in my car, a 1995 Toyota Celica, playing games on my Nexus 7, and just decided to offer it up to the dash. the screen is almost a perfect fit into a double DIN aperture. this had potential! i did a quick sketch on my Galaxy Note 2 of how i thought it could look..
I ordered a spare dash panel off eBay, and set to work, tweeting my progress on the #ProjectN7 tag. Fortunately for me, the rear of the dash panel had a rib all around the Double DIN slot that almost exactly matched the frame size of the Nexus 7. the first step was to remove some ribs and then sand / grind back the plastic from where the Nexus 7 was going to sit. i did this with wire cutters, just for the extra control.
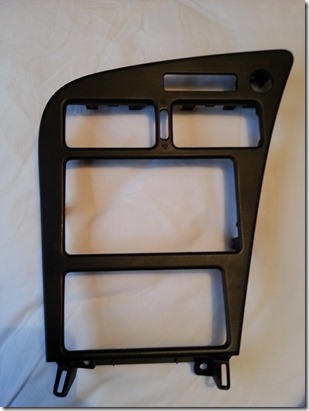
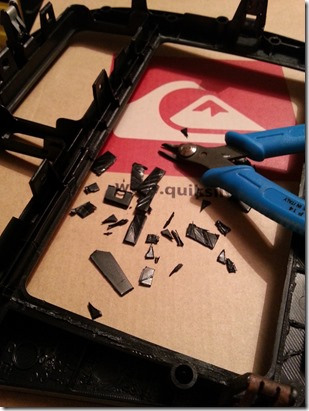
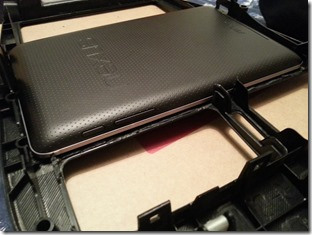
This took a bit of trial and error, as i didn’t want to accidentally take too much off, or damage the clips that hold the panel into the dash. but eventually i got to a point where it would actually fit in and sit flush with the front.
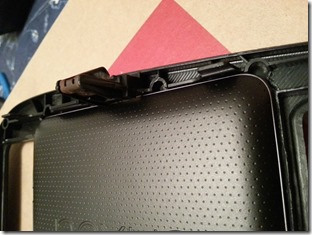
The next step was probably the most difficult, as i had to remove the central section of the air vents, as this is where i needed to move the head unit to. This bit would be on show so i had to be really careful trimming and with a little sanding i got it as good as i could hope.
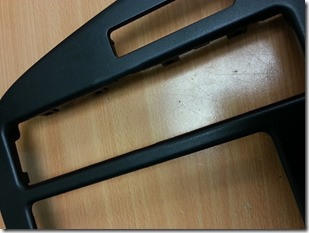
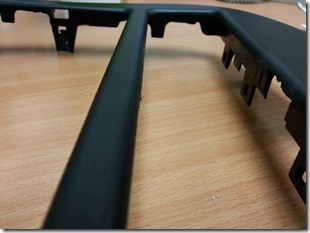
With the Panel as good as i could get it, i had some other problems i needed to address… namely the fact that i now had no way to power the tablet, or get the audio out of it, as the wires would come out directly where the clip was that retains the dash panel! i do have a fair bit of electronics knowledge, so set about finding a broken Nexus 7 to take some required bits out of. there seems plenty of broken screened ones on eBay!
Once the broken one arrived, i removed the back, battery and lots of tape and shielding to remove the Power/Audio PCB and associated ribbon cable. this was to be used so i could move the micro USB outside of the tablet, without damaging the one in the tablet. This will not come out without taking out the battery and pulling off lots of shielding, so it definitely would affect warranty!
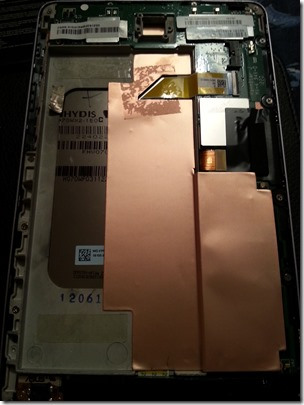
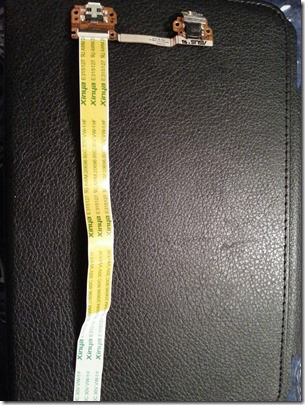
Next up is the power button. One issue with the Nexus 7 is that it powers down when flat (no surprise there), but when you plug it in, it only goes into charging mode. Without a power button, there’s no way to turn it on!?!?! Wrong! there is a Fastboot command that you can issue to the bootloader to make the tablet power on once plugged it. “fastboot oem off-mode-charge 0” makes the unit power on the instant its connected to AC. “fastboot oem off-mode-charge 1” returns to normal state, so fitting an external switch isn’t 100% necessary, but i decided i wanted one anyway. I’m using Tasker to switch the unit on and off with the ignition, but having the external switch is a handy addition.
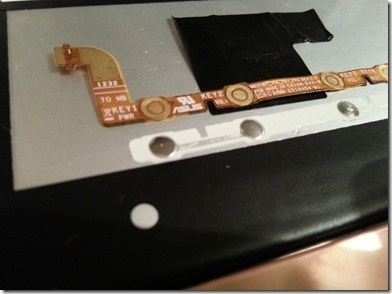
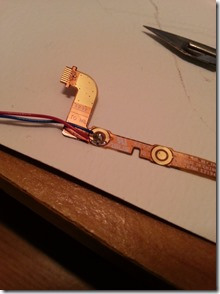
To do this i carefully removed the power switch PCB from the broken Nexus 7 and then peeled off the top layer exposing the contacts. i then (carefully) soldered two wires onto the board, what would be run to an external switch. i put a dab of hot melt glue over the solder joint to help relieve any strain on the wires, and then ran them in a loop to avoid strain, then back out of the original power button hole.
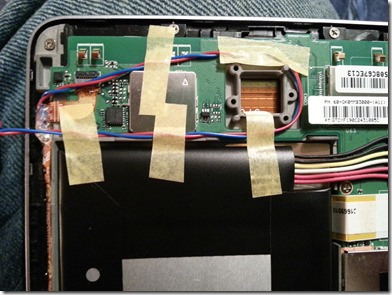
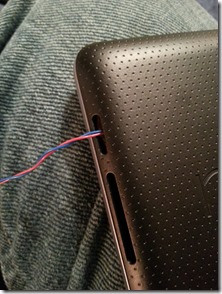
For the power / audio connectors, i carefully opened the zif socket and taped back the original flexi ribbon, then i inserted the one from the broken Nexus and, as luck would have it, it runs straight out of the volume button hole. this was then taped so it didn’t get snagged on anything
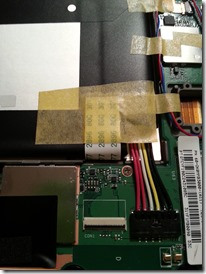
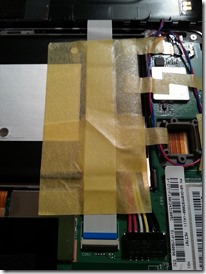
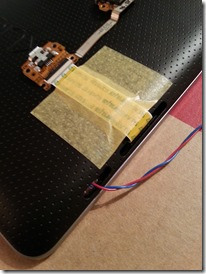
I used Hot Melt glue to secure the Power / Audio connectors to the back of the Nexus7, mainly as it was easy, and also because i could glue the USB cable in place too, damaging the back cover isn’t really an issue to me as i now have a spare from the broken one :-) i angled the 3.5mm Audio jack up slightly so the cable wouldn’t be running straight down at the heater controls once fitted. i then put a matt screen protector on to stop glare and make it look more of a factory fit.
z
So the Nexus 7 was all wired ready to be put into the dash panel, question was… how! My old trust friend the glue gun came to the rescue again. its not the best i suppose, but I’m very limited for space, and brackets would have nothing to screw into. I decided to put masking tape around the whole tablet, to make sure no glue got onto the front bezel, i then glued it in place.
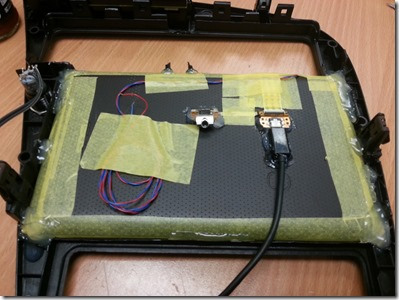
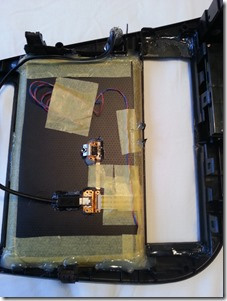
in the mean time, i was back in the car, getting the head unit into the right place. this took lots of trial and error, a lot was done before gluing the tablet into the panel, just to get the alignment right, having the bog hole helped. with a few brackets and screws i got the head unit into place. i also took the opportunity to fit my power button in a nice convenient location.
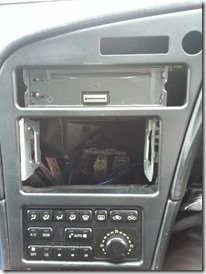
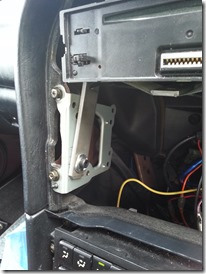
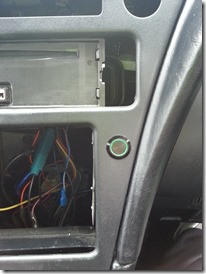
all i needed to do was make up some blanking plates to cover up the end of the aperture. i found an old plastic case and made these up pretty easily.
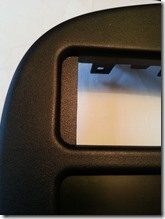
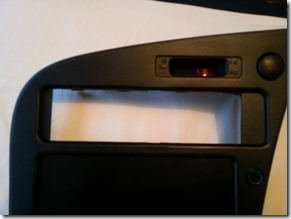
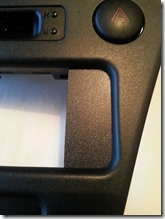
All was left was to wire in the switch, and put the panel in the car! I bought a AUX+ cable to 3.5mm jack adaptor for the audio (KCE-237B for my head unit, an Alpine CDE102Ri), and i wired in, behind the dash, a 12v USB car adaptor. This was a 3 Amp version, so has more than enough juice to keep the Nexus 7 topped up. I also wired in the illuminated green ring on the power button into the dash illumination circuit so it comes on with the headlights. Time to fit!
And here we have it!
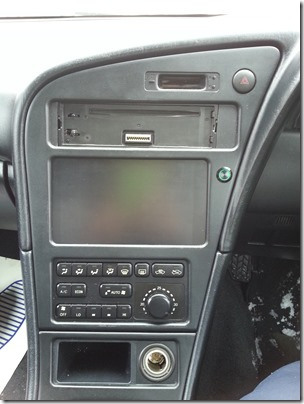
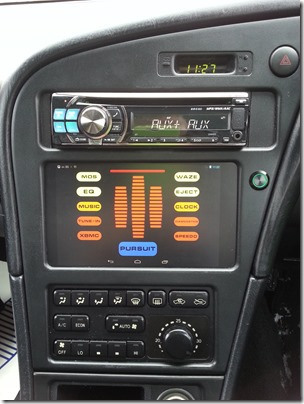
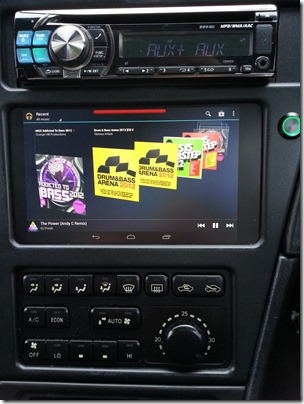
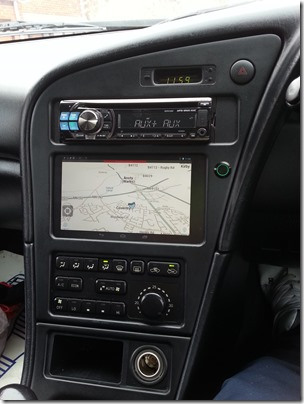
Hope you like it! I’m really pleased with it. I’ll do another post soon with a few details of the homescreen / launcher and other tweaks i have used software side. :-)
Ross … aka @mr_bridger
 Land of Droid




Just amazing…